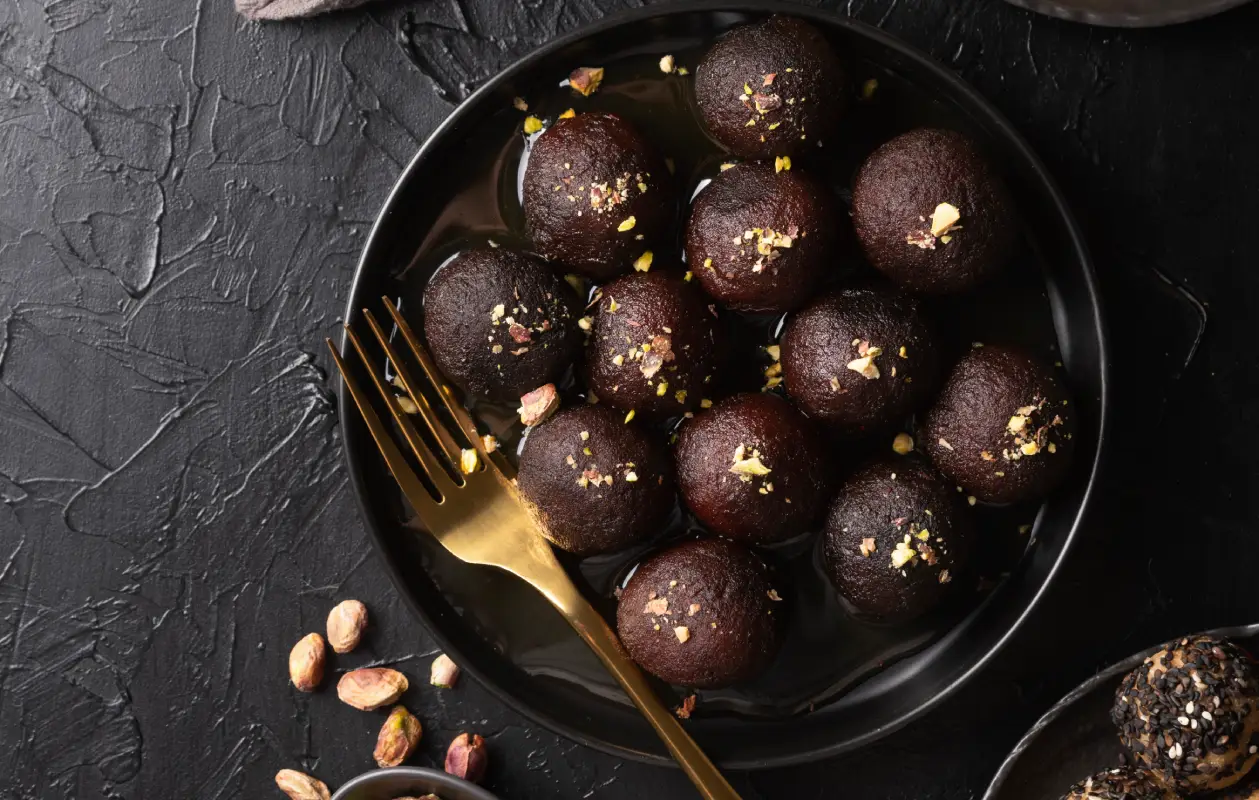
Welcome to the world of gourmet homemade desserts, where the humble peanut butter meets luxurious chocolate to create something truly magical: Velvety Peanut Butter Truffles. This guide is not just a recipe; it’s a journey into the heart of dessert making, where every bite tells a story of flavor, texture, and pure indulgence.
Why This Recipe Stands Out
In a sea of dessert options, why choose velvety peanut butter truffles? Because they embody the perfect balance of creamy and rich, with a melt-in-your-mouth texture that’s hard to resist. Our recipe has been carefully crafted to ensure that even novice bakers can achieve professional-grade truffles in their own kitchen. Whether you’re looking to impress guests, make a heartfelt gift, or simply indulge in a decadent treat, these truffles are your ticket to a gourmet experience at home.
The Perfect Ingredients
Creating velvety peanut butter truffles that melt in your mouth and leave a lasting impression requires more than just a recipe; it demands the finest ingredients. Each component plays a pivotal role in achieving that irresistible texture and depth of flavor. Here’s what you need to know to select the perfect ingredients for your truffle masterpiece.
Choosing Your Peanut Butter
Creamy vs. Crunchy: For the smoothest, most velvety texture, opt for creamy peanut butter. It blends seamlessly with the chocolate, creating a uniform, silky filling. However, if you crave a bit of texture, a dollop of crunchy peanut butter can add an interesting twist.
Natural vs. Commercial: Natural peanut butter, with its pure, robust peanut flavor, is ideal for those seeking depth in their truffles. Keep in mind, it’s often less sweet and more oily, so you may need to adjust the recipe slightly. Commercial brands offer a sweeter, more consistent product, ensuring your truffles have a uniform taste every time.
Selecting the Right Chocolate
Dark, Milk, or White: Your choice of chocolate can dramatically alter the taste profile of your truffles. Dark chocolate, with its bitter notes, contrasts beautifully with the sweetness of peanut butter, creating a sophisticated flavor. Milk chocolate offers a smoother, creamier taste, while white chocolate lends a delicate sweetness.
Quality Matters: The quality of chocolate you choose will directly affect the end result. High-quality chocolate, with a higher cocoa butter content, melts smoothly and combines well with other ingredients, giving your truffles that luxurious, velvety texture.
Additional Ingredients for Flawless Truffles
- Powdered Sugar: For a touch of sweetness and to help solidify the filling, powdered sugar is a must. It dissolves easily, ensuring a smooth texture.
- Vanilla Extract: A splash of vanilla enhances the flavors, adding depth and warmth to the truffles.
- Coating Choices: Cocoa powder, crushed nuts, or powdered sugar for the final touch not only adds to the visual appeal but also introduces an additional layer of flavor and texture.
With the perfect ingredients in hand, you’re now ready to embark on the culinary adventure of making velvety peanut butter truffles. Each ingredient has been chosen to ensure your truffles are not just treats but an experience to remember.
Step-by-Step Recipe
Ingredients:
- 1 1/2 cups of smooth peanut butter
- 1/2 cup of unsalted butter, softened at room temperature
- 1 teaspoon of pure vanilla essence
- 3 cups of confectioners’ sugar
- 2 cups of semi-sweet chocolate chips
- 2 tablespoons of vegetable shortening
Directions:
Preparation:
- Combine the smooth peanut butter, softened butter, vanilla essence, and confectioners’ sugar in a large mixing bowl. Mix until the ingredients are thoroughly combined, resulting in a smooth dough.
- Shape the dough into 1-inch balls and place them on a baking sheet lined with wax paper.
Cooking:
- Refrigerate the shaped balls for at least an hour to allow them to firm up.
- In a double boiler, gently melt the semi-sweet chocolate chips and vegetable shortening, stirring continuously until a smooth consistency is achieved.
- Dip each chilled peanut butter ball into the melted chocolate using a fork or dipping tool. Allow any excess chocolate to drip off before returning the coated balls to the wax paper-lined baking sheet.
Finishing Touches:
- Place the truffles in the refrigerator until the chocolate coating is firm and set.
The charm of this delightful recipe resides in its straightforwardness and the boundless avenues for personalization. Whether you opt for the timeless rendition or introduce your own flair, the outcome never fails to tantalize the taste buds. Bear in mind, culinary endeavors are akin to artistry, and each batch of truffles crafted represents a unique masterpiece.
Should you have any queries, seek handy pointers, or wish to exchange anecdotes of your truffle-making escapades, do not hesitate to get in touch. Reach out to Your Culinary Companion, and let’s continue this culinary dialogue.
READ ALSO: How to Reheat Fries in air Fryer.

