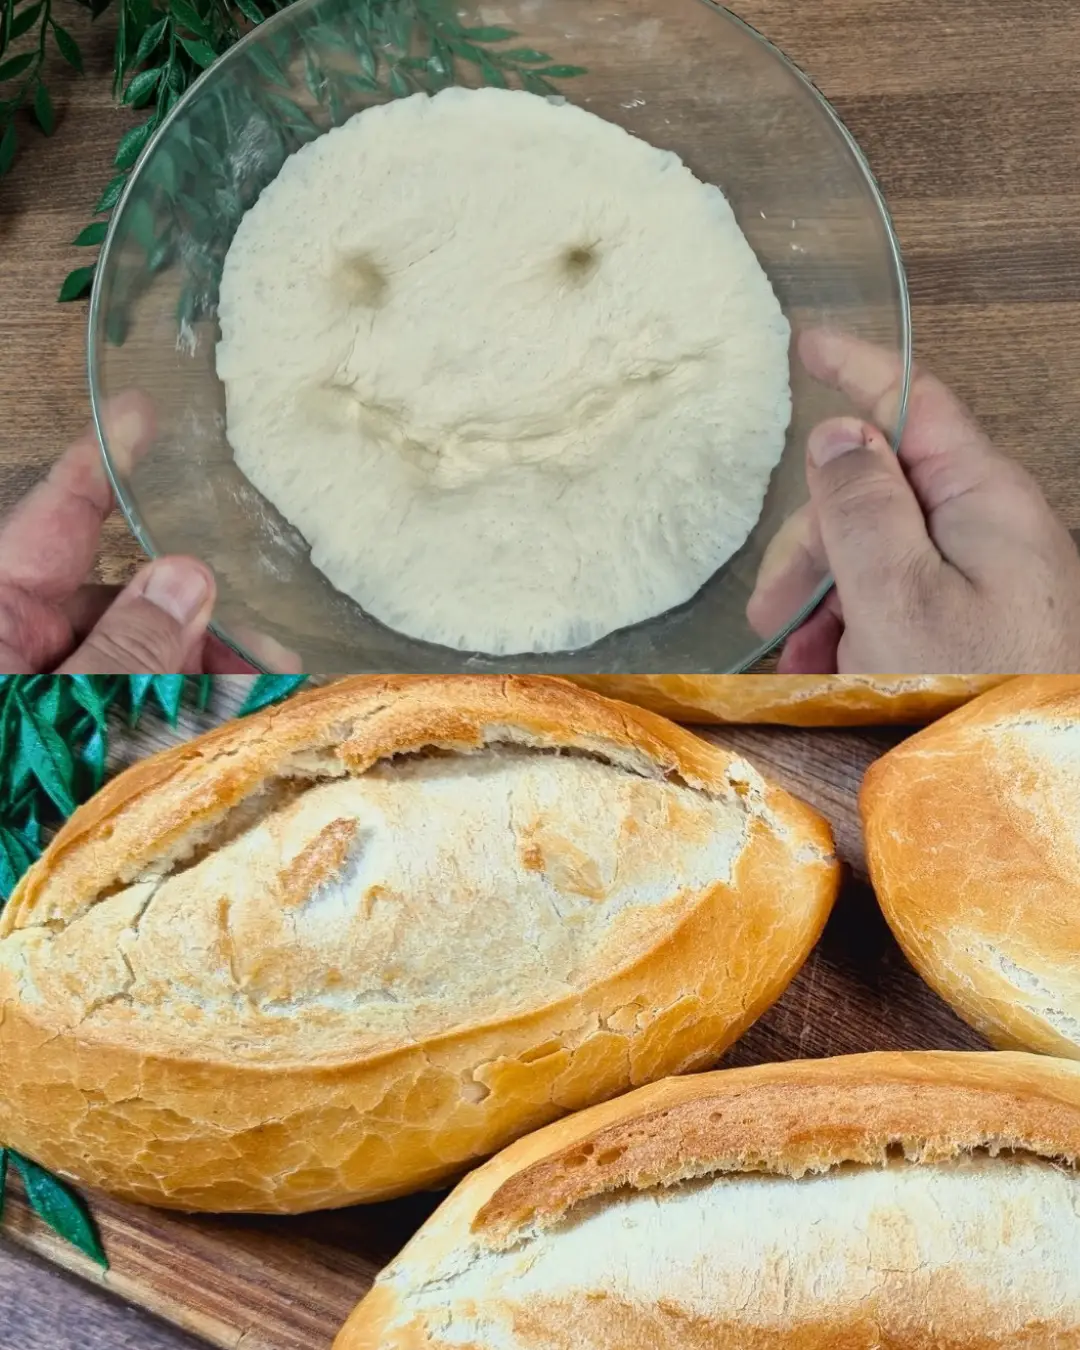
There’s nothing quite like the aroma and taste of homemade crusty bread. This recipe will guide you through making a delightful loaf with a crispy crust and soft interior. Perfect for sandwiches, toast, or simply enjoying with butter, this bread will become a staple in your kitchen. Let’s get started!
Ingredients
Sponge Dough:
- 35g bread flour
- 7g instant dry yeast
- 40g warm water
Main Dough:
- 380g all-purpose flour
- 10g sugar
- 7g salt (1 1/2 tsp)
- 20g unsalted butter
- 210g cold water
Instructions
Step 1: Prepare the Sponge Dough
- Mix Ingredients:
- In a bowl, mix 35g bread flour, 7g instant dry yeast, and 40g warm water.
- Stir until well combined.
- Rest the Sponge:
- Let the mixture rest for about 15 minutes until it becomes bubbly and frothy.
Step 2: Mix the Main Dough
- Combine Dry Ingredients:
- In a large mixing bowl, combine 380g all-purpose flour, 10g sugar, and 7g salt.
- Add Sponge Dough:
- Add the sponge dough to the dry ingredients and mix well.
- Add Water:
- Gradually add 210g cold water while mixing.
- Knead the Dough:
- Knead the dough until it comes together and is well combined.
Step 3: Add Butter
- Incorporate Butter:
- Add 20g unsalted butter to the dough.
- Continue kneading until the butter is fully incorporated and the dough is smooth and elastic.
Step 4: First Rise
- Let Dough Rise:
- Place the dough in a lightly oiled bowl.
- Cover with a damp cloth and let it rise in a warm place for about 1 hour or until doubled in size.
Step 5: Shape the Bread
- Punch Down Dough:
- Punch down the dough to release any air bubbles.
- Divide and Shape:
- Divide the dough into desired portions.
- Shape each portion into a loaf or desired shape.
- Prepare for Second Rise:
- Place the shaped dough onto a baking tray lined with parchment paper.
Step 6: Second Rise
- Let Dough Rise Again:
- Cover the shaped dough with a damp cloth.
- Let it rise for another 30 minutes or until slightly puffed.
Step 7: Bake
- Preheat Oven:
- Preheat the oven to 200℃ (392℉).
- Bake Bread:
- Bake the bread for 13-15 minutes or until the crust is golden brown and the bread sounds hollow when tapped.
Step 8: Cool and Serve
- Cool the Bread:
- Let the bread cool on a wire rack before slicing.
- Enjoy:
- Enjoy your homemade crusty bread fresh!
Tips for Success
- Accurate Measurements: Use a kitchen scale for precise measurements to ensure the best results.
- Kneading: Knead the dough until it’s smooth and elastic to develop the gluten, which gives the bread its structure.
- Proper Rising: Allow the dough to rise in a warm, draft-free place to ensure proper fermentation and development of flavor.
Health Benefits
Homemade bread is free from preservatives and additives often found in store-bought bread. By making it yourself, you can control the ingredients and enjoy a fresher, healthier product.
Frequently Asked Questions (FAQs)
Q: Can I use whole wheat flour instead of all-purpose flour?
A: Yes, you can substitute whole wheat flour, but you may need to adjust the water content and kneading time to achieve the desired texture.
Q: How do I store leftover bread?
A: Store leftover bread in an airtight container or a bread bag at room temperature for up to 2-3 days. For longer storage, freeze the bread and thaw it as needed.
Q: Can I add other ingredients to the bread?
A: Yes, you can add ingredients like seeds, nuts, or dried fruits to customize your bread. Add these ingredients during the kneading process.
Q: What if I don’t have a bread flour?
A: If you don’t have bread flour, you can use all-purpose flour for the sponge dough as well. The texture might be slightly different, but it will still work well.
Homemade crusty bread is a joy to make and eat. With its simple ingredients and straightforward process, you can enjoy fresh, delicious bread any time. Enjoy this recipe and explore more of our recipes for additional culinary inspiration!

